Modern Authentication with Microsoft
We have added an explanation of the required steps to configure modern authentication, aka OAuth 2.0, for your Microsoft Office365 mailboxes. This includes the app registration in the Azure Portal and also the token configuration in Znuny.
How to use OAuth2 Authentication
Here we show how to use the OAuth2 authentication based on Office 365 as an example.
Prepare Your Instance
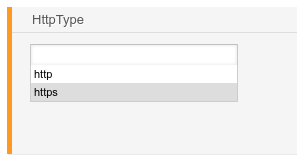
Please change in the Znuny system configuration the HttpType setting to https:
Step 1 App registration
After logging to in the Azure portal, you need to select Azure Active Directory.

If you don't find it in the dashboard, search for it at the top.
At the left side, choose Manage → App registrations.
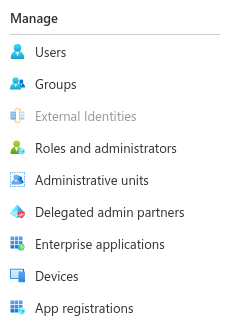
Choose New registration at the top bar. 
Enter a name. It's used to easily recognize for which app is this registration used. In our example it's called MailApp.
Choose an appropriate account type. Usually, "Accounts in this organizational directory only ([your company name] only - Single tenant)" is the right one. You find a more detailed explanation on the Microsoft website.

In the Azure portal, select Register to complete the initial app registration.
App Overview
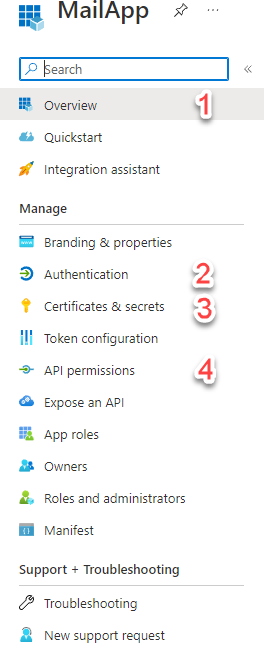
After registering the app, you can select the app to manage the settings.
What do the numbered items mean:
- Get the Client ID and Endpoints from the overview
- Configure and manage platforms (redirect URL setting for the app).
- Create and manage the client secret
- Use this to configure the required API permissions.
Step 2 Configure a Platform

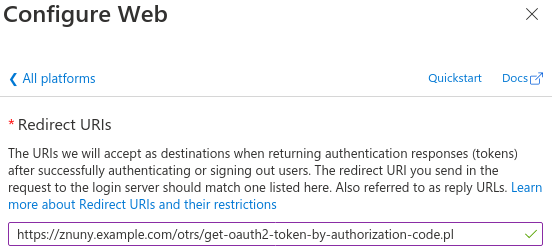
Under Configure platforms, choose Web.
In the next screen, enter the redirect URL. This is like HttpType://FQDN/ScriptAlias/get-oauth2-token-by-authorization-code.pl, for example https://znuny.example.com/otrs/get-oauth2-token-by-authorization-code.pl
Step 3 Create a Client Secret
In the Azure portal, in App registrations, select your application.
Select on the left side Certificates & secrets.
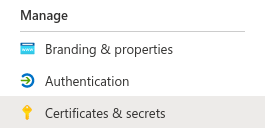
Select Client secrets and New client secret.

Choose an expiration time. Click add. Note the secret value. This secret value is never displayed again after you leave this page.
Step 4 Configure OAuth2 in Znuny
Click at the Admin main view on OAuth2.
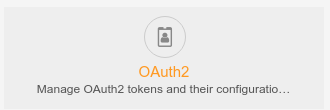
Choose at the left side an appropriate template.
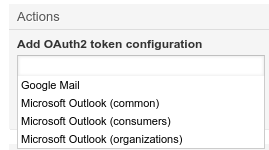
Enter a name.
Enter the client id. You find it in the App registrations view of the last steps.

Enter the URL for authorization code, URL for token by authorization code and URL for token by refresh token. You find it if you click in the Azure portal, in the main screen of your app, on Endpoints.


Copy & paste on this site OAuth 2.0 authorization endpoint (v2) (Znuny field URL for authorization code) and OAuth 2.0 token endpoint (v2) (Znuny fields URL for token by authorization code and URL for token by refresh token).
The form in Znuny should look like this:

Click on save and finish.
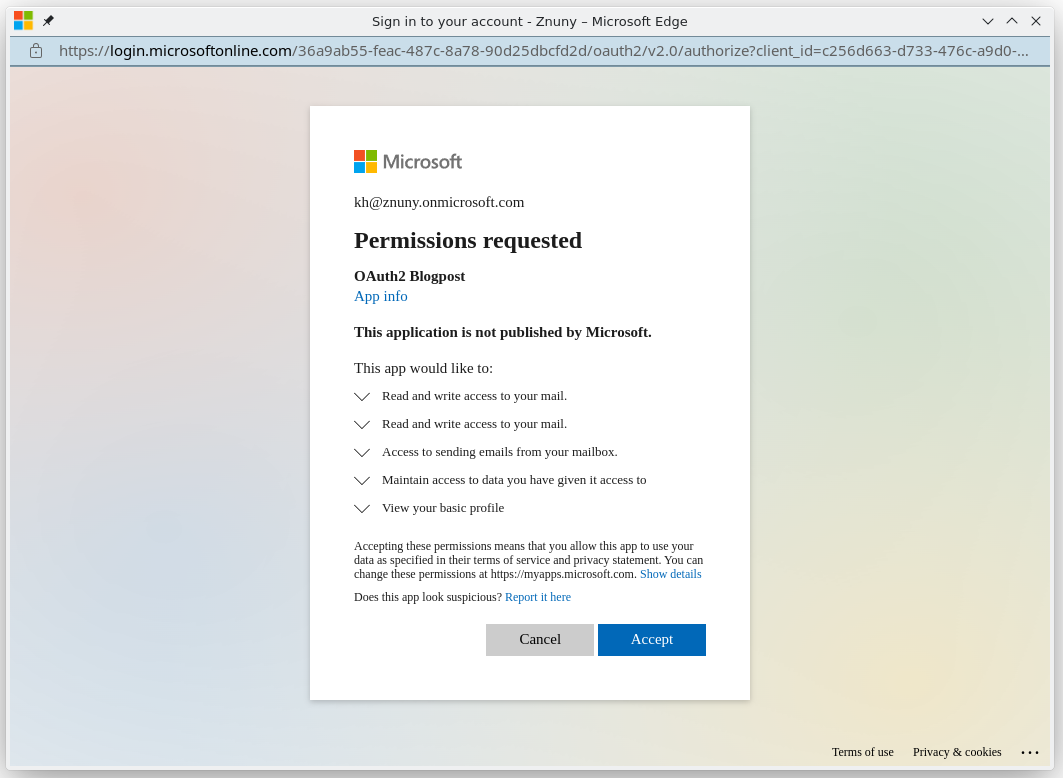
After that, click on Request new token. You see a screen like this to confirm. Click on Accept.
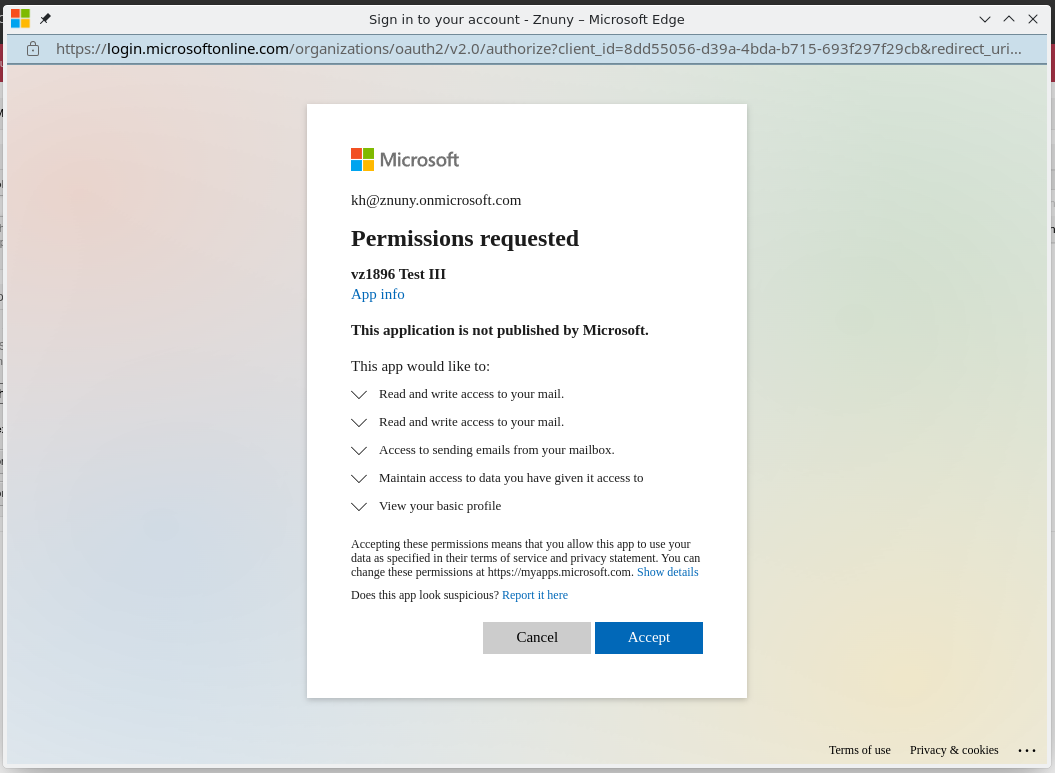
Give Znuny Mail permissions
Select API permissions in your Azure AD application's management view.
Click on Add a permission. 
Select the APIs my organization uses tab and search for "Microsoft Graph".
Click Application permissions. Select Mail > Mail.ReadWrite and Mail.Send. The result is the following: 
Click on Add permissions.
Configure email fetching from Office 365 email account with OAuth2 authentication
Choose in the Znuny admin main view PostMaster Mail Accounts.
Click at the left side on Add Mail Account.
Select as Type IMAPS.
Choose as Authentication type OAuth2 token.
Enter your Email address as username.
Select the OAuth2 token configuration that you just created.
Enter in the host field outlook.office365.com
Configure Sending Emails with Office 365
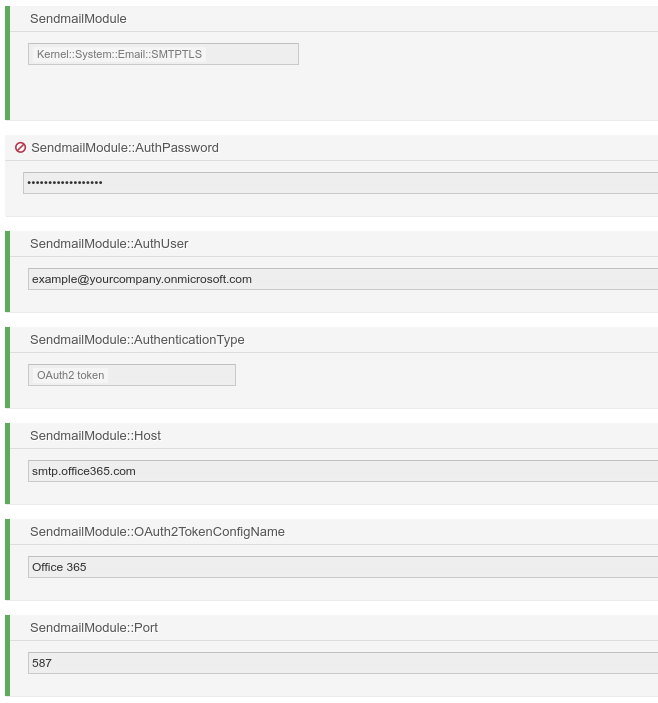
To send Emails with Office 365, you need to set several settings in the Znuny system configuration. All of them are in the path Core::Email. Click every time
Set SendmailModule to SMTPTLS.
Set SendmailModule::AuthUser to the Email address you use for the authentication.
Set SendmailModule::AuthenticationType to OAuth2 token.
Set SendmailModule::Host to smtp.office365.com
Set SendmailModule::OAuth2TokenConfigName to the name which you set set above (in this instructions, it was "Office 365").
Set SendmailModule::Port to 587.
Save all of the settings. In the end, it should look like this.
Now you're done! Send a test mail to check if it's working.
